


How to Use a Laser Level Outdoors in Daylight
You can use a laser level outdoors. The catch is that sunlight washes out the beam, so you need either a laser receiver or a green-beam model to make it work in daylight.
Two things change when you move a laser level outdoors: visibility and stability. Sunlight washes out the beam, and uneven ground makes tripod placement harder. Once you account for both, outdoor laser work is as reliable as indoor use.
Why Laser Levels Are Hard to See in Daylight
A laser level works indoors because the beam is brighter than the ambient light reaching your eye. Take it outside and direct sunlight is roughly 100,000 lux — a well-lit room is 200 to 500 lux. The beam simply disappears into the background, not because the laser is weak, but because your eye cannot distinguish it from the light flooding in from every direction.
This matters because the mistake most people make is adjusting settings or assuming the unit is broken. The beam is still there, emitting at full power. You just cannot see it without help.
Two solutions exist:
- Green-beam laser: Green light at 532 nm sits near the peak of human color sensitivity. Outdoors in open shade, a green beam is readable at 30 to 50 feet without a receiver. In direct sun, it disappears too — just at a longer distance than red. Amazon buyers consistently describe outdoor use in direct sunlight without a receiver as unusable. That matches the physics: it is not a product flaw, it is a hard limit of visible-light optics in high-ambient-light conditions.
- Laser receiver (detector): A photoelectric sensor mounted on a grade rod. It detects the laser plane electronically and signals the height with beeps and LEDs. Works in full midday sun at 100+ feet. Required for any outdoor task beyond 50 feet.
Bottom line: For jobs within 30 feet in open shade, a green-beam laser may be enough. For jobs in direct sunlight or beyond 30 feet, use a receiver regardless of beam color.
What Pulse Mode Is — and Why You Need It Outdoors
Pulse mode is a specific operating state where the laser emits in short, high-intensity bursts instead of a continuous beam. The receiver is synchronized to detect only those bursts, filtering out ambient sunlight as background noise.
Without pulse mode, the receiver cannot distinguish the laser from the sky. The unit may still project a visible line for close indoor work, but the receiver will not respond.
Key points:
- Most self-leveling cross-line lasers have a dedicated pulse mode button (icon looks like a dashed line or wave)
- When pulse mode is active, the continuous beam disappears — this is normal, not a malfunction
- The receiver must also be in its detection mode; look for a power button and a mode selector if your receiver has multiple sensitivity settings
- Indoor horizontal/vertical line work does not require pulse mode; it is an outdoor-specific feature
How to Use a Laser Receiver Outdoors

A laser receiver extends your working range from roughly 30 feet to 100 feet or more in direct sunlight. Here is the workflow:
1. Mount the Receiver on a Grade Rod or Story Pole
Clip the receiver to the rod using the bracket. The detection window (the narrow horizontal slot on the face of the receiver) must face the laser unit. Position the rod at the point you want to measure — a stake, post base, or corner mark.
2. Enable Pulse Mode on the Laser
Press the pulse mode button on your laser unit. The visible beam will turn off. The receiver will now be able to detect the invisible pulsed signal.
3. Slide the Receiver to Find the Laser Plane
Move the receiver up or down the rod slowly. When the detection window enters the laser plane, the receiver beeps and the indicator LED shows position: above, on, or below the plane. Center the receiver on the plane until you get the steady center-tone beep.
4. Read and Mark the Height
Once centered, read the rod measurement at the bottom of the receiver bracket — that is your elevation at this location. Mark the height on the stake or post with a pencil line. Repeat at each measurement point without moving the tripod or the laser unit.
Common error: Trying to read the receiver before enabling pulse mode. The receiver will give a false "no signal" reading and you will waste time troubleshooting. Always confirm pulse mode is active first.
How to Set Up a Laser Level Outdoors

The setup process is close to indoor work, but a few steps matter more when dealing with sun, wind, and uneven ground.
1. Choose the Right Spot for Your Tripod
Set the tripod on firm, level ground. Soft soil shifts. If the ground is uneven, use a tripod with adjustable legs rather than shimming with scrap wood. Any movement after you lock in your reference line means you start over.
2. Level the Unit
Most self-leveling lasers handle small corrections automatically, but they have a limit, usually around 4 degrees. Get close manually first. If the indicator blinks continuously on flat ground, check the transport lock switch first. The CM-701 ships with a lock that pins the pendulum. When engaged, the unit blinks regardless of how level the surface is. Flip it to unlock before setup. Then watch the indicator light or listen for the ready beep before you trust the line.
3. Attach a Laser Receiver
In direct sunlight the beam is invisible to the eye. Clip a receiver to your grade rod — it detects the laser plane electronically and signals the height with beeps. For a full walkthrough, see How to Use a Laser Receiver Outdoors above.
4. Enable Pulse Mode
Receivers only work when the laser is in pulse mode — a high-intensity burst mode that the receiver can filter from ambient sunlight. Press the pulse mode button before sliding the receiver on the rod. For more on how pulse mode works, see What Pulse Mode Is above.
5. Wait, Then Mark Your Reference Points
Wait two to three minutes after powering on before making marks. The optical components need time to reach thermal equilibrium. Once stable, mark the rod height at each stake or post location before moving anything.
Pro tip: Mark tripod foot positions with chalk before moving to measure a second point. If the tripod shifts even a few millimeters, all reference marks become inconsistent.
Pro tip: Green-beam lasers are roughly four times more visible than red outdoors. In open shade a green beam is often readable at 30 to 50 feet without a receiver. In direct sun, use a receiver regardless of beam color.
Pro tip: Schedule layout work for early morning or late afternoon. Low-angle sun is easier to work around than midday glare.
What You Can Do Outdoors with a Cross-Line Laser Level
- Grade drainage slopes. Set your reference height at the high point, then use the receiver to check the rod at the low point. Confirm the right fall, typically 1 inch per 10 feet, without pulling a string line across the yard.
- Align fence posts. Shoot a horizontal line along the fence run and mark each post at the same height. Keeps the cap rail consistent even when ground rises and falls between posts.
- Level a patio base. Walk the receiver along your screeded gravel base to find high and low spots before you pour or set pavers. Catching a half-inch variance in the base saves you from a rocking patio two years later.
Common Mistakes When Using a Laser Level Outdoors
Skipping the Warm-Up Period
Powering on the unit and immediately marking positions is a common setup mistake. Laser optics shift slightly as they warm from a cold start, meaning the first 60–90 seconds of readings may drift from the stabilized position.
⚠️ If You Skip This: Marks made during the first minute of operation can be 1–2mm off per meter of distance. Over a 10-meter grade run, that deviation can create a noticeable slope in a surface intended to be level.
Fix: Power on the unit, complete tripod setup, and wait two to three minutes before marking reference points.
Trying to Read the Beam Without a Receiver
In direct sunlight, a laser line can become invisible within 5–10 feet of the unit. Many users assume the laser itself is faulty when the real issue is that outdoor work typically requires a receiver.
⚠️ If You Skip This: Without a receiver, you are estimating the beam position rather than measuring it. Projects that appear level during installation often reveal slope errors the next day when checked with a straightedge.
Fix: For reference points more than 15 feet from the laser, use a receiver in pulse mode. This extends reliable detection to roughly 100 feet or more for cross-line laser levels.
Working in Direct Midday Sunlight
Even with a green-beam model, visibility drops significantly between 10 a.m. and 3 p.m. in direct sun. The result is often guesswork rather than clearly seeing the line.
⚠️ If You Skip This: Visual estimates in bright midday sunlight can be off by 1–3 inches at 30 feet. For drainage work, that difference can determine whether water flows away from a foundation or pools against it.
Fix: Schedule outdoor laser work before 10 a.m. or after 3 p.m. If the project cannot wait, rely on a receiver and pulse mode rather than trying to see the beam directly.
Storing Wet Equipment in a Closed Case
After working in damp conditions, packing the laser directly into its case traps moisture inside. As temperatures drop overnight, condensation forms on circuit boards and internal components.
⚠️ If You Skip This: Condensation on internal electronics is one of the most common causes of laser level failure after outdoor use. Most manufacturers classify this as user error, so moisture damage is typically not covered under warranty.
Fix: Wipe the unit dry and allow it to air out for at least 30 minutes before storing it. Never seal a wet laser in a closed case.
Frequently Asked Questions
How far can a laser level reach outdoors?
For cross-line laser levels with pulse mode and a receiver, the outdoor working range extends well beyond the standard indoor specification. The exact distance depends on beam power, receiver sensitivity, and ambient light. Rotary laser levels with dedicated receivers can reach 800 meters or more for large-scale construction grading.
Do I need a receiver to use a laser level outdoors?
In most cases, yes. In direct sunlight, a laser beam becomes difficult to see beyond 10–15 feet without a receiver. Pairing a receiver with pulse mode allows accurate detection of the beam at much greater distances, which is essential for grading, drainage, and fence alignment projects.
Can I use a laser level in the rain?
A laser level with an IP54 rating can handle light rain and dust during outdoor work. IP54 means the unit is protected against water splashing from any direction. After working in wet conditions, allow the unit to air dry for about 30 minutes before storing it.
Is a green laser really more visible than red outdoors?
Yes. The human eye is most sensitive to green light around 510–530nm. At the same output power, a green beam appears roughly four times brighter than a red beam in daylight. The difference becomes especially noticeable at distances beyond 10 feet in bright conditions.
How do I set grade with a laser level?
Place the laser at the high point of the grade and set the receiver to your reference height at the starting stake. Move the rod to each target location along the grade run and lower the receiver by the intended drop per foot of run to establish the slope. Mark each stake at the bottom of the rod. The grade follows the receiver position, not the laser height.
What happens if I store my laser level while it is still wet?
Moisture trapped in a closed case condenses on internal components as temperatures drop overnight. This can lead to corrosion, short circuits, and optical damage over time. Always wipe the unit dry and let it air out for about 30 minutes before storing it.
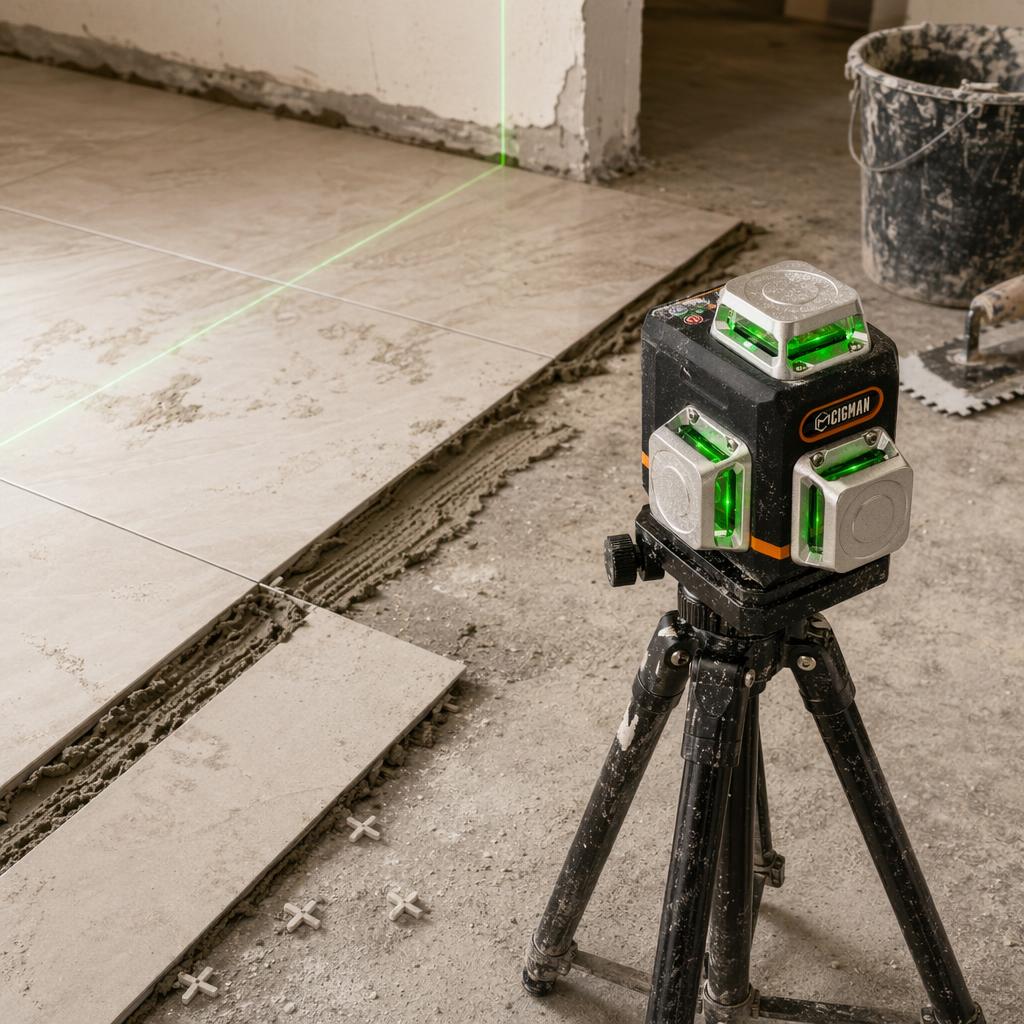
Which CIGMAN Tools Work Best for Outdoor Laser Work?
For most yard and landscaping projects within 100 feet, the CM-701 covers the typical range of DIY outdoor work. Its IP54 rating protects against dust and light rain, the 3x360-degree line configuration provides horizontal and vertical references from a single placement. Note that each 360° plane has a small shadow gap (the lines are technically 3×358°, not full circles) where the cage blocks the beam. For outdoor grade work over long distances, rotate the unit slightly if a station falls in a gap, and the remote control lets you adjust settings from the measurement point without returning to the unit.
If your project requires outdoor detection beyond 15 feet, pair it with the CLD-100 Laser Receiver for reliable beam detection in direct sunlight.
References
For more on choosing the right tool, see our complete laser level buying guide.
- Occupational Safety and Health Administration, "Controlling Laser Hazards," U.S. Department of Labor, OSHA, Washington, DC. [Online]. Available: https://www.osha.gov/laser-hazards
- U.S. Food and Drug Administration, "Laser Products and Instruments," Center for Devices and Radiological Health, FDA, Silver Spring, MD. [Online]. Available: https://www.fda.gov/radiation-emitting-products/home-business-and-entertainment-products/laser-products-and-instruments
- Laser Institute of America, "ANSI Z136.1: American National Standard for Safe Use of Lasers," LIA, Orlando, FL. [Online]. Available: https://www.lia.org/resources/laser-safety-information


Commenta
Questo sito è protetto da hCaptcha e applica le Norme sulla privacy e i Termini di servizio di hCaptcha.