


Laser Level for Construction: Line or Rotary?

Pick up one guide and it says construction crews use dot lasers. Pick up another and the whole page is rotating lasers for concrete work. Neither one tells you which type fits the job you are actually doing.
The answer depends on the job, not the location. If you are putting a line on a wall, get a line laser. If you are setting an elevation on the ground or in concrete, get a rotary. Start with the line laser. The only reason to go rotary is if you are shooting a concrete grade.
A Line Laser for Walls
Any job that puts a line on a wall is a line laser job. It does not matter whether you call it construction or renovation. The question is only whether the work needs a line on a vertical or horizontal surface.
Wall Layout and Structural Lines
Wood frame
A bottom plate, a row of upright studs, a top plate. Drywall goes on once the frame is level.

Light-steel frame
Same order, but thin steel studs replace the wood. Common in office partitions. Drywall still goes on.

Masonry
Brick or concrete block stacked with mortar. The stack is the wall. No frame behind it.

Poured concrete
Concrete poured into forms that come off once it hardens. Common in basements and foundations.

A wall can be built in more than one way.
I'll use the most common type, the wood frame, as the example.
The outside of many houses sometimes looks like brick, but the interior is mostly still a wood frame, with the brick serving only as an outer skin.
Making this type of wood-frame wall requires a horizontal plate on the ground, studs standing on top of it, another horizontal plate on top, and drywall to cover the wood.
Drywall does not straighten a crooked wall. If an upright leans, the board leans with it. The face is smooth, and the wall is still crooked. Check that each upright is straight up and down while you can still see the wood. Then nail on the board.
Marking out this type of wall with a wood frame typically involves the following three steps.
Step 1: Mark the line

Mark a line on the floor.
Mark the same line on the ceiling.
Step 2: Check the corner

Check that this wall meets the next wall at a right angle.
Check that the door or window opening is square.
Step 3: Check the uprights

After the wall is up, check that each upright is straight up and down.
By this point you can see why the layout has to happen before the frame is closed in. The line on the floor and the same line on the ceiling set where the wall runs. A corner that is not a right angle, an opening that is not square, or an upright that is not straight up and down carries into every step after this. A line that is off by a quarter inch here does not stay a quarter inch. Each layer on top makes that error larger. Check the laser before you nail.
Below, the same three steps are set out in more detail.

Place the laser level on the ground, in a position where you can see both the floor and the ceiling at the same time, or clamp it onto a tripod and let it self-level.
Use this line to mark the bottom track on the floor. Then use the same line to mark the top track on the ceiling, without moving the machine in between.

Leave the laser where it is. Lay a second line across this one so the two lines cross at the corner.
Move the next wall's mark onto that cross. Don't touch the header yet.
Set the vertical plane on one side of the opening, then turn the tool to the other side. Nail the header only when both sides read the same. The longer sequence for that turn is in how to check plumb with a laser level.

Stand the wall. Switch to the vertical plane and run it down the face of each upright. A gap at the top or the bottom means that upright is out. Fix it before you raise the next wall. A full room of this is in the guide on the best laser level for framing walls.

Same machine, now moving on to another component. If this job includes a deck as well, set the posts before laying the boards.
Switch on both vertical lines. Set the machine off one corner of the post, so one line runs along the face toward the house and the other along the side face. Take readings on the face toward the house and the side face, without moving the machine.
A post that is out on either face will rack once the decking weight is on it. The rest of that setup is in laser level for deck posts.

Then come the stairs. Same principle: set one reference and carry it through without re-shooting midway.
Shoot one level line at the finished height of the lowest tread.
Measure every riser up from that line.
Carry that same height all the way up. If you move the laser and set it again, one step can end up a quarter inch taller or shorter than the one before it. A stair built that way is unsteady underfoot.
Interior Finishes
The frame is closed in now. The lines you shoot from here on are marking a finish surface, not the structure. The logic doesn't change. You still shoot one line, you still don't reset it until the surface reads the same everywhere it needs to.
Ceiling grid work needs a level reference line running all four walls at the same height. Set the line laser to the finished ceiling height and sweep it around the room. Mark the wall at each intersection.
The grid hangs from those marks. Every main runner starts on the same plane, so the finished ceiling sits flat without shimming individual tiles. The full sequence is in how to use a laser level for ceiling work.

Before laying the first row of wall tiles, you need to draw a horizontal reference line first. A line that looks level often has slight deviations, and this deviation becomes clearly visible at the corners and the top row of tiles.
Set the line laser level at the height of the first full tile above the floor, check it against both ends of the wall, and then snap a chalk line at that mark.
Once that line is down, the rest of the course follows it the same way the ceiling grid followed its marks. The full method is in how to use a laser level for tile.

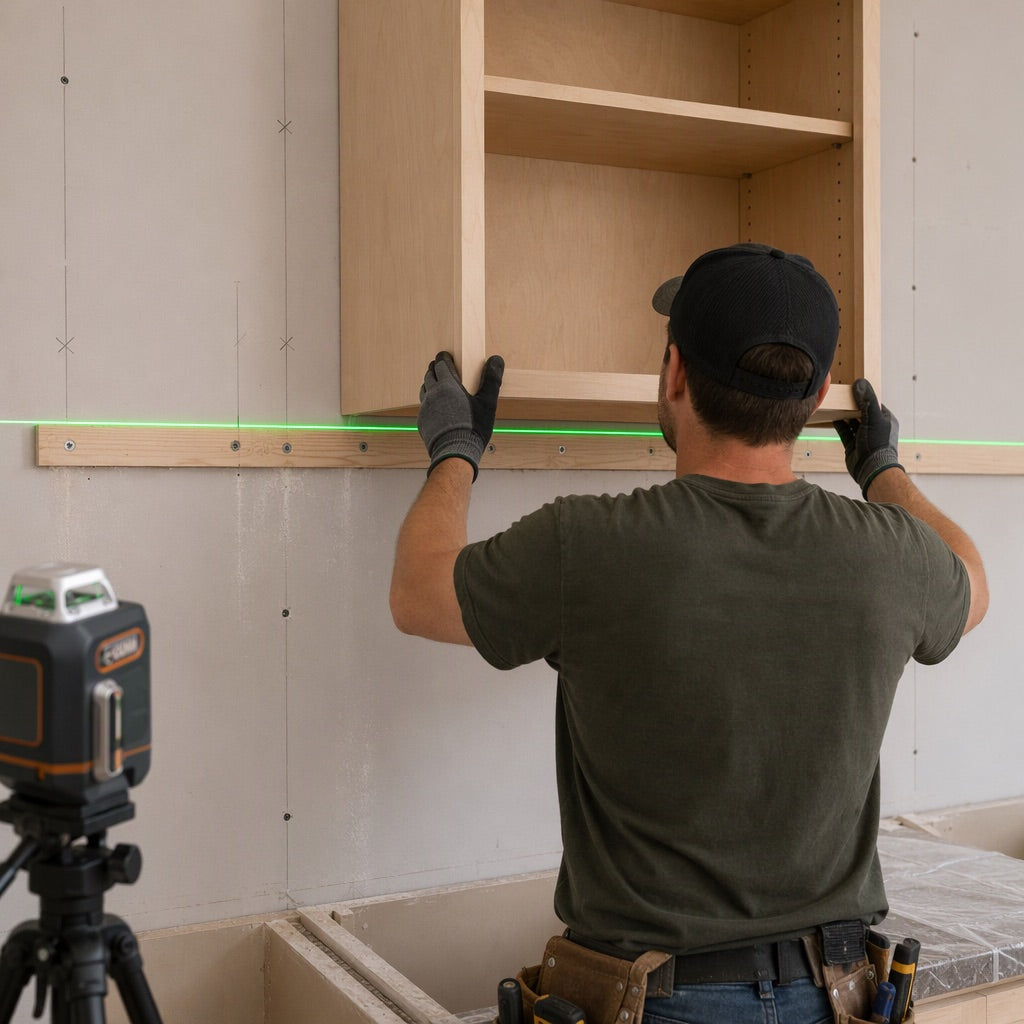
Countertop installation uses the same horizontal plane to confirm that a run of cabinets shares one level surface before the top goes on. Set the line laser at the cabinet height and check each unit against it. A cabinet that is high or low by more than an eighth of an inch will need shimming under it or planing the face frame.
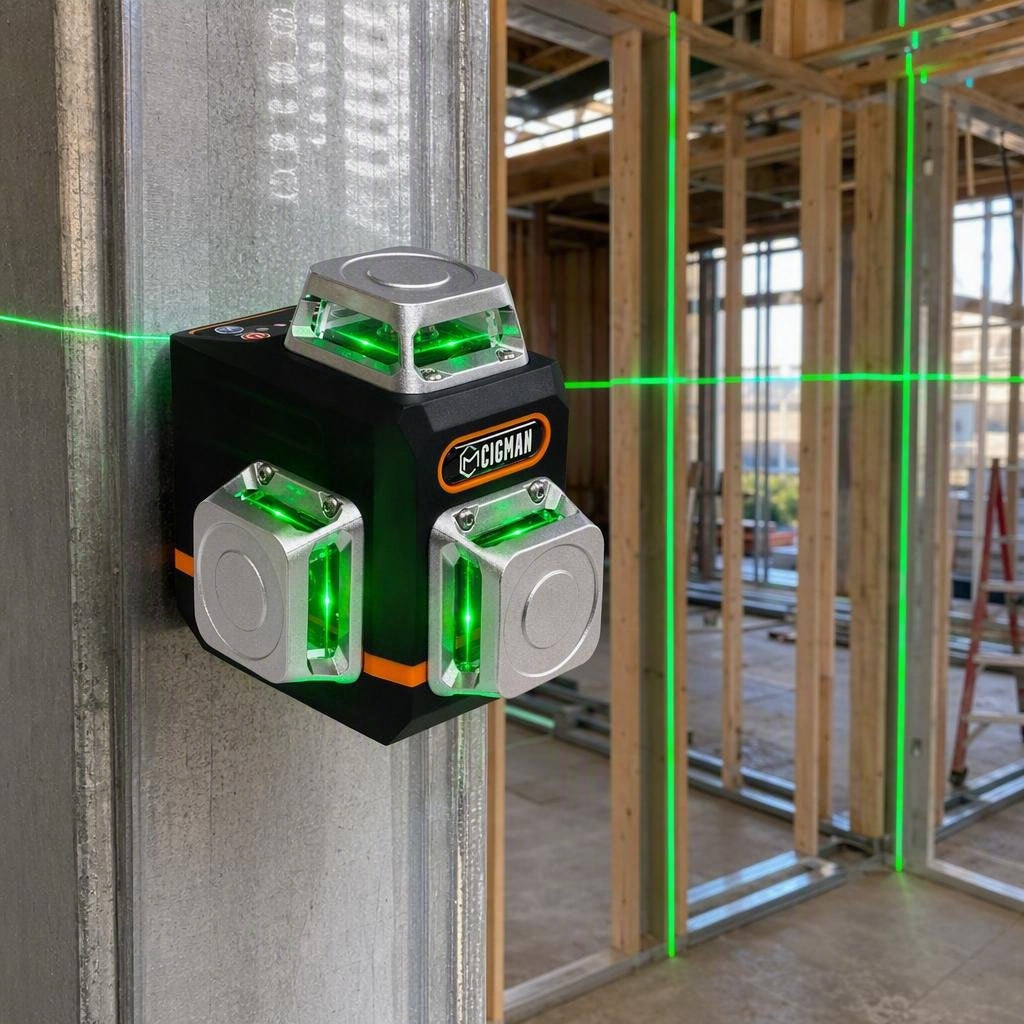
Across all this finish work, a line that doesn't meet the mark on the next wall is why people pick the tool up and reset it. A 360° green line laser covers all four walls in one setup, so every mark comes from the same plane to begin with. That's where the CM-701 fits: wall layout and interior finish, not site elevation outside.
A Rotary for Grade and Elevation
Standing indoors or outdoors does not tell you which one to buy.
A rotary laser does not draw a line. It spins a single dot into a level plane, so you can hold one elevation across a slab, a foundation, or a graded site.
Pour a concrete slab inside a building and a rotary belongs there. Hang a door on an exterior wall and a line laser is still the right call.
Read the Rod, Not the Beam
After a few feet, you can't see the beam anymore. That doesn't mean it's gone. It's still projecting a plane across the whole site. Your eyes just can't pick it up at that distance. If you try to find it on the ground by eye, you're guessing, and your mark will be off.
The receiver is what solves that. It clips onto the grade rod. You slide it up until it beeps, and that's where the plane is. That's where you mark. Chase the beam by eye and you'll get a different reading every time you move. Mark at the beep and every point comes out at the same height.
That's the normal way to use a rotary. The receiver usually ships with it. A line laser often doesn't include one, so you'd have to buy it separately.
Site Work and Earthmoving
Grading is cut and fill to one finished height. Judge that height from the machine by eye, and the error grows with every pass, until you grade the same ground twice. So the rotary has to be set at that height before you start cutting, and it stays there. Walk the rod across the site. Where the rod reads high, dig it down. Where it reads low, bring it up.
A yard or a driveway is a common job of this kind too. The rotary stays at the finished height. You carry the rod to each point and read it. Setting up outside is covered in how to use a laser level outside. Leveling the ground is covered in laser level for leveling ground.
Concrete, Foundations, and Long Runs
Once the pour starts, you don't get another chance to shoot a benchmark. The measuring has to be finished before that. Set the rotary on a height you already trust, before the concrete truck shows up, and leave it there. Walk the rod along the form and read the concrete height anywhere you need to. The laser hasn't moved, so a reading at one end and a reading at the other are the same height. A quarter inch of drift across the slab shows up as a wave once the concrete cures. A foundation runs the same way. You hold one height the whole length.
A long run of pavers is a different situation. The patio is not supposed to be flat. It slopes away from the house at an eighth of an inch per foot, so water runs away from the building. Dial that slope into the rotary and check each row as you lay it. A row that comes out flat sends the water back toward the house. The full process is in laser level for a paver patio.
Putting up a fence is a common job too. The post tops have to be at the same height before the rails go on. Check each one with the receiver while the concrete around the post is still wet. Once it hardens, a post that is too high or too low stays that way. Whether you need a receiver for this is covered in do you need a laser level receiver.
We don't sell rotary laser levels here. If you need to do wall and interior finishing work, getting a CIGMAN CM-701 is a great choice!

CIGMAN CM-701 3x360° Laser Level
- 3x360° green beam (1H + 2V), 100ft range.
- Self-leveling ±4°, accuracy ±1.5mm/5m.
- Remote control, USB-C rechargeable.
Not a Third Type
Some guides use the word "rotate" to describe a line laser being turned to aim at a mark on the wall. That is not a rotary laser. The tool is still a line laser; the beam still lands on a wall surface.
A line laser puts a line on a wall, that's its whole job. A cross-line laser and a 360° laser are still line lasers, they just give you more to work with. A cross-line adds a line straight up the wall, and a 360° sends that line all the way around the room, so you can mark the other walls without picking the tool up and turning it. A dot laser does something else entirely. Set it over a mark on the floor and it drops one dot on the ceiling, right above that mark, nothing more. A rotary isn't a line laser or a dot laser. The head spins on its own, and that spinning beam turns into a level plane you can walk all the way around.
You can tell you're dealing with a rotary because you stop looking for a line on the wall altogether. Leave it running on the tripod, clip the receiver to a grade rod, and walk the rod to whatever spot you need. Once the receiver finds the plane, the height is just the number sitting on the rod. A line laser, cross-line or 360°, is still marking a wall either way, the 360° just means you cover more of the room before you have to move the tool. A dot laser takes a mark on the floor and finds the matching spot on the ceiling. A rotary gives you one height across open ground, a slab, or a foundation. If you want to see how these line up against each other, check out types of laser levels.
Green Light Still Disappears Outside
Under typical indoor lighting, a green beam is easier to see than a red one. This is a real advantage when you're working inside a building. In direct sunlight, however, that advantage disappears: outdoors, green light fades out at about the same distance as red light.
A line laser needs a receiver too, once you are outside and cannot see the line. Indoors, for wall layout, you see the line, so you do not need one. Outside, green or red, the beam washes out. Pulse mode lets the receiver find the line. Buying a green line laser does not solve that by itself.
A Higher Price Is Not an Upgrade
Whether you search "laser level" on Google to find a brand's official website and browse products, or dig through Amazon, you'll notice that the prices of products on the page span a very wide range.
Entry-level products can be priced in the double digits, offering a green cross-line laser with self-leveling function and a magnetic mount. Products priced near $100, and those just under $100, add a third line or pulse mode for use with a receiver. Products priced above $150 move into rotary laser territory, complete with a rotating head, receiver, and tripod.
The price of this tool has gone up, and you might assume it's because the tool itself has changed, or because the line laser performance has improved. But many people who have bought both higher-priced and lower-priced laser levels will find that the difference in features and build quality isn't as big as expected. Isn't that a pretty counterintuitive finding?
Of course, after-sales service and quality assurance for extremely lower-priced products are, in most cases, not backed by any brand. So the mindset of buying products just because they're cheap is also not advisable.
| Price | Type | Lines | Level | Magnet | In the box | Range | Class |
|---|---|---|---|---|---|---|---|
| [0, 50) | Line | 1H+1V | Locks | 360° bracket | None | 100 ft / 164 ft with receiver | II, <1 mW |
| [50, 100) | Line | 3×360°, 1H+2V | ±3.5°, locks | Wall or L | None | 65–98 ft / 131–197 ft with receiver | 2, <1 mW |
| [100, 500) | Line | 3×360° | ±3.5°, no lock | L, 1/4" & 5/8" | Receiver included | 98 ft / 197 ft with receiver | 2, <1 mW |
| Rotary, ~$500 | 1 beam | ±5° | None | Receiver, tripod, 9 ft rod | 1,969 ft with receiver | II, ≤1 mW | |
| [500, 1000) | Rotary | Some: plumb or dual slope | Yes | Some: magnetic target | Receiver, tripod or rod | 1,150–4,000 ft with receiver | $700: 3R ≤5 mW. $950: class 1 |
| [1000, ∞) | Rotary | Dual slope or cone | ~5° | None | Receiver, 5/8-11 | 1,650–4,000 ft with receiver | <1 mW |
A rotary laser level is not a fancier line laser. It does a different job. For wall layout or interior finish work, a line laser for a few hundred dollars is enough. Spending more will not make the line any straighter, and the tool will not settle level any sooner. For site grading, a concrete slab, or a foundation, spend the extra on a rotary laser.
References
- [1] CIGMAN CM-701 3x360° Laser Level, product specifications: 3 planes (1H + 2V), 100 ft range, self-leveling ±4°, accuracy ±1.5 mm at 5 m, USB-C rechargeable. Source: cigman.com/products/cm-701-laser-level.



Commenta
Questo sito è protetto da hCaptcha e applica le Norme sulla privacy e i Termini di servizio di hCaptcha.